0 Comments
Midnight Fairy Card
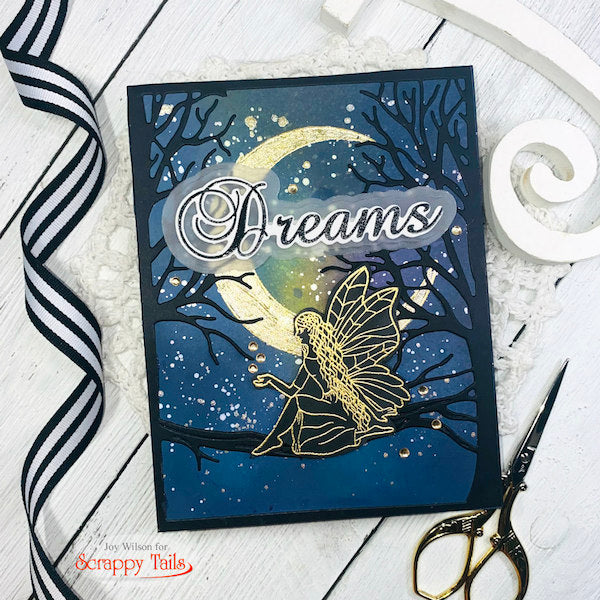
Hi and welcome back! Joy here with a beautiful galaxy background framed in by a fabulous Forest Tree Coverplate. I am over the moon with the "Midsummer's Night Dream" release and hope you are too!

To start this dreamy project, I used Distress Oxides to blend a galaxy background. I'm always amazed how bad the blend looks, until it's done. I always hesitate and want to start over, and have learned to keep going. I applied gold and white acrylic paint splatters to create stars and laid it aside to dry while I worked on the rest of the card.

My next step was to die cut the A2 Forest Trees cover plate to frame the background and start to lay out the elements of my scene. I heat embossed the moon from the Fairy Friends 6x8 stamp set with gold and then hand painted it with gold acrylic paint. While that dried, I stamped and heat embossed the fairy.
I decided to emboss the fairy on black cardstock so that I would get a silhouette image. I always try to find multiple ways to use my stamps. In a previous card, I colored the fairy with Copics. My last step before assembling the card was to stamp, heat emboss, and die cut the "dreams" sentiment from the Fairy Sentiments Bundle.
Assembling the card was quite easy. I simply adhered the Forest Trees frame to the front panel and then popped up the fairy with foam tape. I adhered the dream sentiment to a vellum shadow layer with wet glue and then popped up the entire thing. My last step was just to add a few gems to the dreamy card.
I hope that you enjoyed this card and will give it a try! For more inspiration please join us on the Scrappy Tails Crafts Facebook page! You will find stunning projects on the Scrappy Tails blog, Youtube, and on Instagram!
Follow Joy on Social Media!
