3 Comments
No line Coloring Roses | A7 Pop Up Box Card
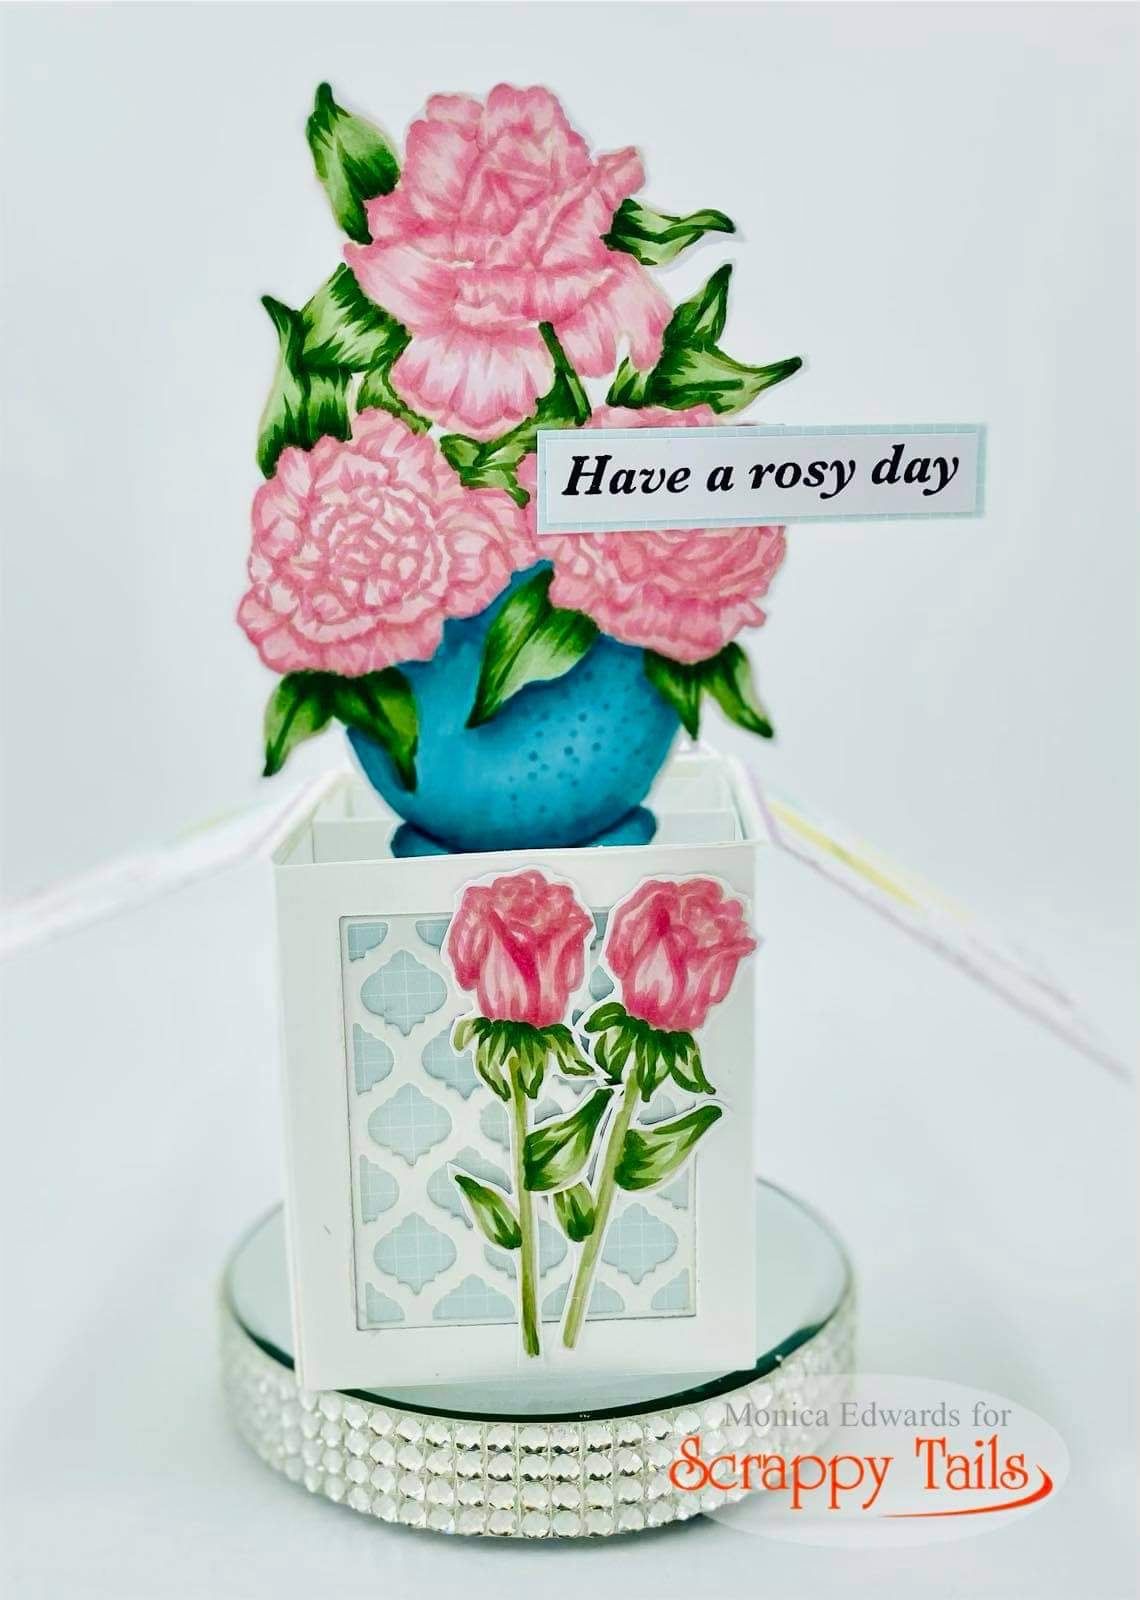
Welcome back everyone. Monica Edwards here and today I am super excited to share my first post for the Scrappy Tails Crafts design team! 2021 has arrived and I am looking forward to an amazing year on STC. Today, I created a gorgeous A7 pop up card featuring some new and old products in the Scrappy Tails store!
Here is a view of the box panels. You could always leave the windows open which I will do and share in another blog post.I die cut then layered with acetate and patterned paper.

Here's a step by step process to create the bottom panels:
1. Take the main panel die from the A7 Pop up Box die set and die cut 2 card base panels. Take the decorative lattice and die cut the bottom 2 rectangles on each card base panel. This will create a window.


2. Die cut your solid pattern paper panels and your lattice panels to layer on top.

3. Next glue a piece of acetate behind each cut out. Then add your patterned paper. I cut the pattern paper panels slightly larger so I can hide my adhesive behind the card base. You can also opt out the patterned paper and have a see through window instead!

4. Adhere the top layers to the box flaps, I cut mine from pattern paper


Here is my completed card, I adhered the large bouquet in the center with my sentiment that I attached to the side. I decided to glue my two single roses to the front bottom flap of the box. Let me know what you guys think of my A7 pop up card in the comments!
Follow Monica on Social Media!

3 Comments
Muchas gracias. ?Como puedo iniciar sesion?
Sure thing Cherry any time 🥰
I love it, u got to teach me to color!