4 Comments
Slimline Pop Up Box Card Tutorial
It's time for another pop up box tutorial! This time, I'm showcasing the new slimline pop up box die from Scrappy Tails Crafts! I'm creating two Holiday box cards today using some of my new stamps and slimline border dies. Be sure to check out the video to see the entire step by step process on how these boxes were assembled! Hint, they're super easy to create!
All of the images you see inside both boxes were hand stamped, colored with Copics and die cut with their coordinating dies. I used heavy weight 110 lb white card stock to create my box card bases. You're going to want to have a heavy weight paper for the base of the card, as well as the bridges that go across the box to hold all of your die cuts. I also recommend using strong double sided tape to assemble the boxes. I also used pattern paper in my stash to decorate the boxes! Definitely check out my video tutorial to see exactly how these boxes are assembled!
This video is apart of a week long giveaway event! Be sure to subscribe to my Youtube channel and leave a comment in my video to enter into the chance to win a $25 gift card to Scrappy Tails Crafts! There will also be giveaways on my Instagram, so be sure to follow me there!
Video Tutorial
Close Ups

The Slimline Pop up Box die is perfect for creating both elegant and whimsical cards. Today, I will be sharing an example for both styles! For this more elegant design, I started off by adding some lace borders inside the card. These are nice to add into any pop up box, because it acts as a ground for your images to be glued upon. Meaning, you don't have to use acrylic sticks! To create the lace, I die cut one of the three lace borders, from the Lacy Slimline Border die set, twice from white card stock. Behind the lace, I added the coordinating shadow die, which I cut from some silver foil card stock. This is definitely what dressed up my card! Once those were adhered inside, I decorated the box with images from my new Cardinal Blessings 6x6 stamp set and images from my new Candle Light Poinsettia 6x6 stamp set. The sentiment on the front flap is from my new Christmas Market 6x6 stamp set. I love that it's a nice long sentiment, perfect for this slimline pop up box!

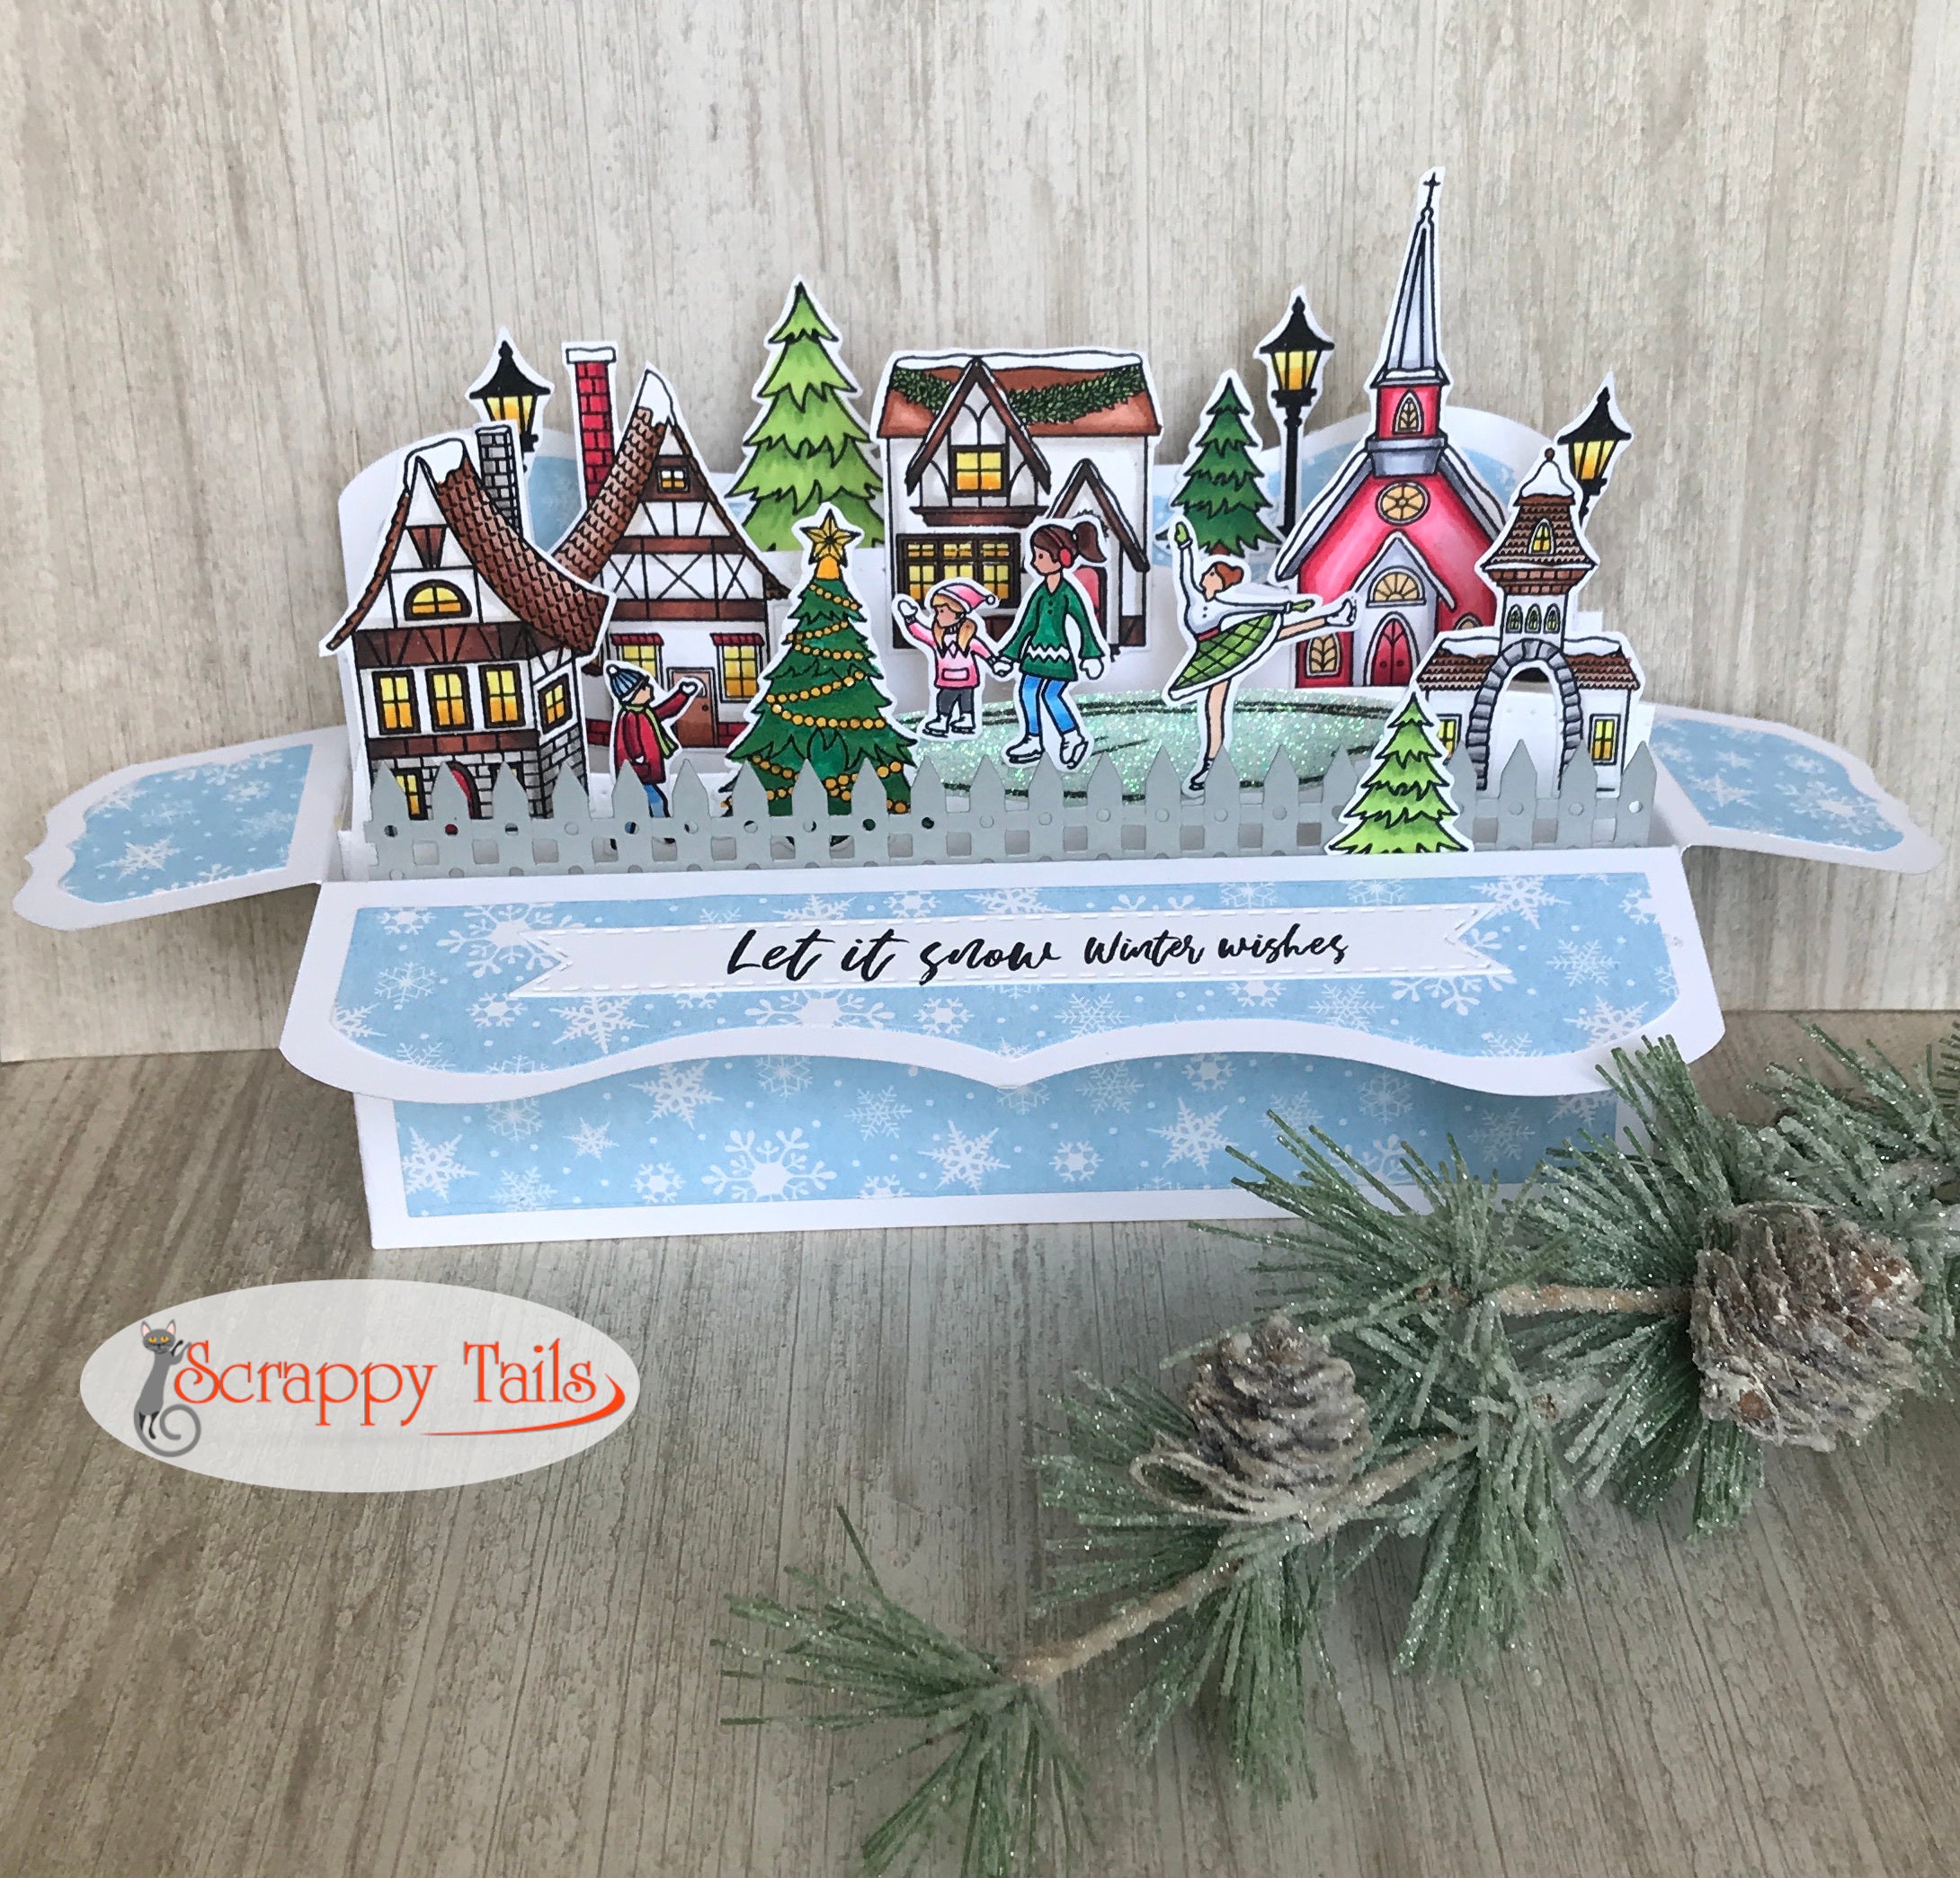
One thing I want to mention with the slimline pop up boxes is that, if you want to mail them, you have to make sure you are not exceeding the tippy point on the back of the box. I sized the boxes to be as large as possible, so you have to be mindful of that. However. if you plan on hand delivering your slimline boxes, then you can make them as tall as you want! I knew I wanted to hand deliver this particular card, so I went to town adding all my tall buildings from my German Winter Village 6x6 stamp set. To fill in the scene, I added a couple lamp posts and trees from the Christmas Market 6x6 stamp set. Each image was adhered on some snow banks, which I created using the hillside die in my Everyday Slimline Border die set. I also added a grey fence in front of the village. The fence die also comes in the Every Day Slimline Borders die set. For both of my slimline border dies, you will have to trim them down to 7 inches in order to fit inside the box. I made them a bit longer in case you wanted to use them on your regular flat slimline cards!
You can purchase everything I used to create these slimline box cards over on my website at www.scrappytailscrafts.com
Challenges
This blog post is a submission for the Simon Says Stamp Wednesday challenge "Make it Sparkle"

4 Comments
I love your German Christmas Market.
Muchas gracias. ?Como puedo iniciar sesion?
Such an amazing tutorial i really appreciate about your admire able talent . I m impress thanks!
Adorable! Nice video instructions too!!! Inspired to get going for the holidays now ❤️